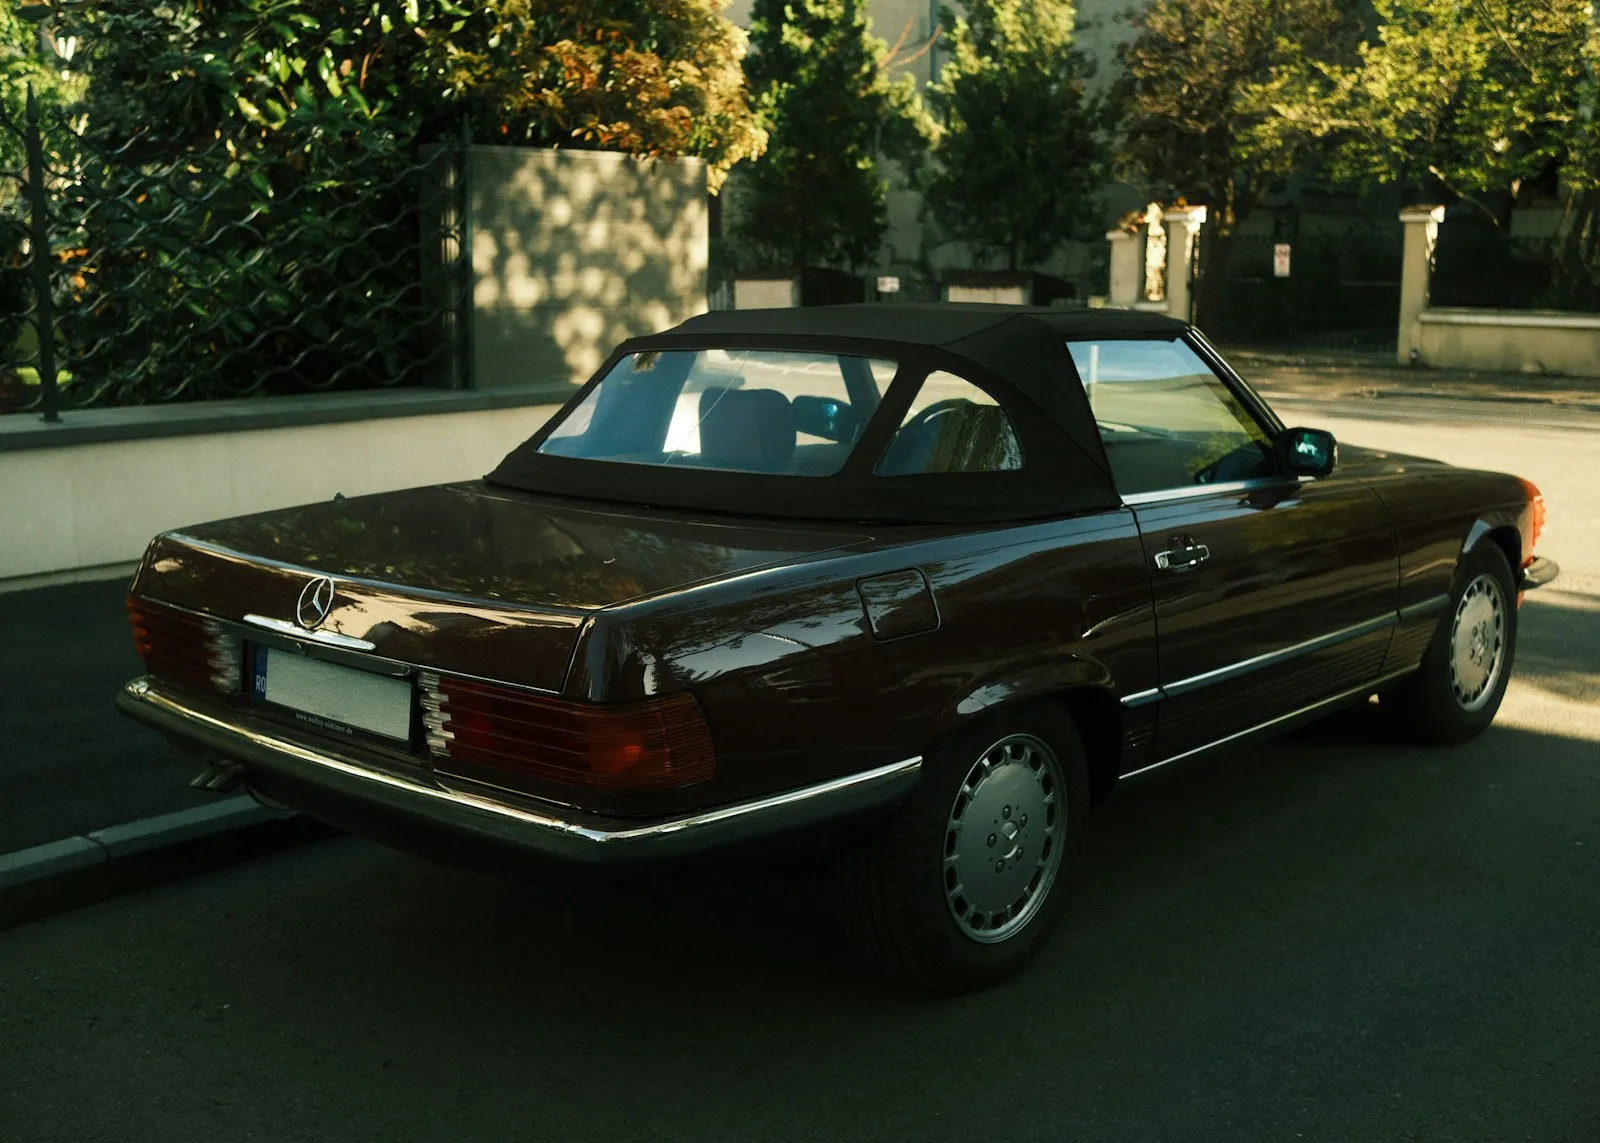
The convertible top is the part of a classic that ages most invisibly. Through a winter in dry storage, the fabric stretches and contracts, the rubber seals compress under their own static load, the rear plastic window goes from clear to hazy, and the cable, hydraulic, or manual mechanism that operates the top sits without movement long enough for things to seize. None of this is visible while the top is up. Then the first warm weekend in May arrives, you decide to put the top down for a drive, and you discover problems that should have been caught a month earlier when you had time to fix them. After enough seasons of getting this wrong on my own classics, I’ve settled into a routine that catches most of the issues before they become a botched first drive — and the part that surprised me most was how little of it requires anything beyond patience and a flashlight.
Key takeaways
- Inspect the top up first — most failures are visible in the raised position before you ever try to lower it
- The rear plastic window on most classics from the 70s and earlier is the highest-priority replacement item
- Lubrication of the top mechanism with the right grade matters more than which brand of lubricant
- Hydraulic systems on power tops should be cycled at least monthly during storage to prevent seal failure
- Don’t operate a top mechanism that doesn’t move freely by hand — find the stuck part first
Start with the top in the up position
The first inspection happens with the top raised, before you touch the operating mechanism. Most of the issues you’ll find are visible from outside the car if you know where to look.
Walk around the car and look at the fabric for sun damage, fading, and color variation. A top that was put away looking good can come out of storage with patches of stretched or sun-bleached material that weren’t visible six months ago. Light penetration through the fabric viewed from inside the cabin is a useful test — pull the car into a shaded area and look up at the headliner side of the top. Pinholes show as small bright dots. Stretched areas show as more diffuse light passage.
Check the seams. Convertible tops fail at the seams long before the panel material itself fails, because the stitching is what carries the stress when the top is operated. Look for separating threads, rust on metal grommets, and any spots where the seam is pulling away from the fabric.
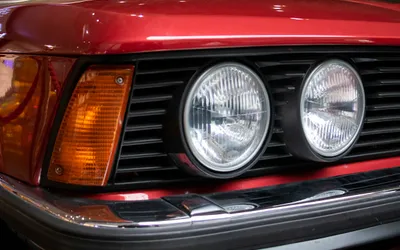
Check the rear window. On classics with glass rear windows (some later models had heated glass windows starting in the late 1970s for some makes, more broadly through the 1980s), inspect the seal around the glass for separation. On classics with plastic rear windows — which is most cars from the 1960s and earlier, plus a meaningful number of ’70s and ’80s convertibles — the plastic is almost certainly cloudy or yellowed at this point. A new plastic window kit is the single highest-leverage upgrade you can do for the visual appeal of the top, and the parts cost is reasonable. Installation requires patience and warm weather but is within reach of an enthusiast working alone.
Check the front and side rubber seals where the top meets the windshield and the door windows. Compress the rubber with your fingers — it should be firm but not hard. If the rubber feels brittle or has cracks that go to the core, it needs replacement. Hardened rubber seals are responsible for most of the wind noise and water leaks on classics with otherwise functional tops.
Inspect the frame and bow assembly
The top’s structural skeleton — the bows that run across the cabin and the side rails that run front to back — needs separate attention. Most of the wear shows up here, and most owners don’t look closely until something stops working.
Look at the top frame from inside the cabin with the top raised. The bows should sit evenly. Compression points where the bow meets the side rail, the pivot points where the frame folds, and the bow that supports the rear of the headliner are the spots where wear concentrates.
Check for rust on the bow metal. The bows are typically painted steel that gets exposed to moisture from condensation inside the cabin. Surface rust is normal; structural rust is a problem. If you can flake material off a bow with a fingernail, that part needs attention before the top is operated again.
Check the cable or rod assembly that pulls the top forward and backward. On most classics this is one or two cables that run along the side rails inside the headliner. The cables stretch over time and develop tension changes that affect how the top operates. If the cables are visible from inside the cabin (some configurations), inspect for fraying or kinking. If they’re hidden inside the rails, you’ll evaluate them by feel when you operate the top.
Check the latches that hold the top to the windshield frame. The latch mechanism is the single most-used moving part of the entire top, and it’s the spot that’s most likely to need adjustment after storage. The latches should engage with positive resistance and release cleanly. A latch that’s hard to engage usually needs adjustment of the strike plate position rather than replacement.
Lubricate before operating
This is the step most owners skip and the one that prevents the most damage. The top mechanism has a number of pivots, hinges, and sliding contact points that need lubrication, and a top that’s been sitting through winter has lost most of its lubricant film.
Locate the lubrication points specific to your car. Most classic shop manuals show the points clearly. The general categories are: pivot pins where the bows meet the side rails, the latch mechanism at the windshield header, the hydraulic ram pivots if you have a power top, and the cable guide points along the side rails.
Use the right lubricant. White lithium grease is the safest general-purpose choice for most classic top mechanisms. It stays where you put it, doesn’t attack rubber or fabric, and tolerates a wide temperature range. Avoid spray lubricants like WD-40 for actual lubrication — WD-40 displaces moisture and cleans, but it isn’t a long-term lubricant and it’ll evaporate within a few weeks.
Apply lubricant lightly. Excess grease that drips during operation will end up on the fabric or the headliner, and grease stains on convertible top material are difficult to remove without damaging the fabric. A thin coat at each pivot point with a small brush or applicator is better than a heavy coat applied from a tube.
After lubrication, operate the latches and any visible pivots by hand to distribute the lubricant. Don’t operate the full mechanism yet.
Operating the top for the first time
With the inspection done and lubrication complete, the first cycle of the top is the moment that tells you whether the prep paid off. Do it slowly.
For manual tops, release the latches and lift the top to the partially-folded position by hand. Watch and listen for any binding, scraping, or unusual resistance. Stop immediately if something doesn’t move freely. A top mechanism that’s mostly stuck can usually be coaxed back to operation with patience and additional lubrication; a top mechanism that’s forced past a stuck point can break a side rail, kink a cable, or tear fabric.
For power tops with hydraulic operation, the first cycle gets done with the engine running and the hydraulic system topped off. Hydraulic fluid evaporates over time and the seals can dry out during long storage. Top up the reservoir to the manufacturer’s spec before operating. Cycle the top up and down a few times to circulate fluid through the seals. If the operation is slow, jerky, or the top stops mid-cycle, you have a hydraulic issue — usually a worn seal or a low fluid condition — that needs to be addressed before reliable operation.
If the top operates cleanly through a full cycle, run it through several more cycles to verify consistent operation. The first cycle is sometimes the cleanest one because everything is fresh; if the second or third cycle shows binding, that’s a more representative test.
When to repair versus when to replace
Convertible tops have a rough functional lifespan. A well-cared-for top in a moderate climate lasts 10 to 15 years. A top that lives outdoors and sees harsh sun lasts 5 to 8 years. A top that’s been stored in a heated garage with a fitted cover can sometimes go 20 years. The decision between repair and full replacement comes down to the cost of repair versus the time you’d spend on something that has a known limited remaining life.
Repair makes sense for: a single failed seal, a torn or worn rear window, a broken latch component, a stuck or worn pivot, a small fabric tear that hasn’t propagated.
Replacement makes sense for: multiple seam failures, fabric that’s stretched or thin enough to leak, sun damage across most of the top surface, structural issues with the bows or side rails, and any case where the cost of multiple individual repairs approaches half the cost of a new top.
Replacement top kits in 2026 run $400 to $1,200 for the fabric depending on the car, plus $400 to $1,500 in shop labor if you don’t install it yourself. DIY installation is possible but requires warm weather, patience, and access to the right pull straps and clamps. The first install is harder than subsequent ones — many owners do their first top with a shop and learn enough to do future replacements themselves.
Climate and storage considerations
A few items affect how often the top needs attention.
Garage storage with the top up is best. The top fabric prefers to be in its operating geometry rather than folded, and storage with the top down for months at a time produces creases that can become weak points.
If the car must be stored with the top down (some owners do this in winter to reduce mechanical stress on the latches), put a clean cotton sheet between the folded top and the seat back to prevent compression marks.
Climate control matters more than most owners think. Tops stored in environments with high humidity see mold growth in the fabric and corrosion on the bow metal. A dry storage environment with reasonable temperature control extends top life meaningfully.
Direct sunlight is the single largest factor in top wear. A car kept under a carport that gets afternoon sun ages its top faster than a car kept fully indoors. If you must store outside, a fitted cover is worth the investment.
Cleaning and ongoing care
Once the top is in service, ongoing care is straightforward but specific.
For fabric tops, a soft brush and a fabric-specific cleaner remove most surface dirt. Avoid generic household cleaners — many contain solvents or surfactants that damage the fabric’s water-repellent treatment. Specific products from brands like RaggTopp, 303, or Star brite are formulated for convertible top materials and won’t strip the protection.
After cleaning, reapply a fabric protectant every season. The water repellency is what keeps the top performing as a roof; without it, water soaks into the fabric, eventually penetrates to the headliner, and accelerates aging.
For plastic rear windows, plastic-specific polishes (Meguiar’s clear plastic polish, Plexus, Novus polishes) remove minor hazing and restore clarity. Avoid abrasive metal polishes or paint polishes on plastic — they cut too aggressively and produce permanent scratches.
Don’t put the top down with the fabric wet. The folded fabric trapped against itself encourages mold and mildew, and trapped moisture can stain the top from the inside. If you’ve been driving in rain and want to put the top down when the weather clears, give the fabric 30 to 60 minutes in the sun with the top up to dry first.
Bottom line
The convertible top is the most weather-sensitive system on a classic and the one most likely to be embarrassing on the first top-down weekend if you didn’t do the prep. Inspect the top up before you operate it, lubricate the mechanism with the right grade of grease, run the first cycle slowly while watching for issues, and replace any rubber or plastic components that have aged past their useful life. Most of the work is preventive and most of the parts cost is modest. The classic that has a top that operates cleanly is a different car to live with than the one whose top needs to be coaxed every time — and the difference shows up in how often you actually use the convertible feature you bought the car for in the first place.