You spent hours detailing the car, drove across town to the meet, and then grabbed a handful of snapshots that look flat, cluttered, and nothing like the car looks in person. The problem isn’t your phone camera — it’s how you’re using it. A few adjustments to where you stand, when you shoot, and what you include in the frame will make your car photos dramatically better with zero equipment purchases.
Key takeaways
- Shoot during golden hour or in open shade — harsh midday sun creates ugly reflections and blown-out highlights
- Get low and shoot at bumper height to give the car presence and visual weight
- Simplify the background by moving a few steps left or right to eliminate distractions
- Lock exposure and focus on the car’s body line, not the sky or pavement
- Shoot the details — engine bays, wheel fitment, interior touches — not just the full car
Use the light you have, but use it right
The single biggest factor in any car photo is lighting, and at a typical morning Cars & Coffee, you have about 90 minutes of great light after sunrise. That early-morning golden hour gives you warm, low-angle light that wraps around the body lines and creates soft shadows that define the car’s shape.
If you show up at noon, the sun is directly overhead, the hood and roof are blown out white, and every panel reflects harsh glare. You can still get decent photos in midday light if you park in open shade — under a tree line or next to a building that blocks direct sun but still allows plenty of ambient light. Open shade produces even, diffused light that shows paint color accurately and minimizes distracting reflections.
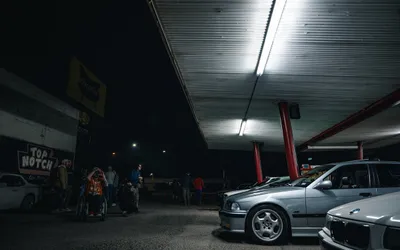
Overcast days are actually excellent for car photography. The cloud layer acts as a giant softbox, spreading light evenly across the car. Colors pop, reflections are controlled, and you can shoot from any angle without fighting harsh shadows. Don’t skip the camera on a cloudy meet day.
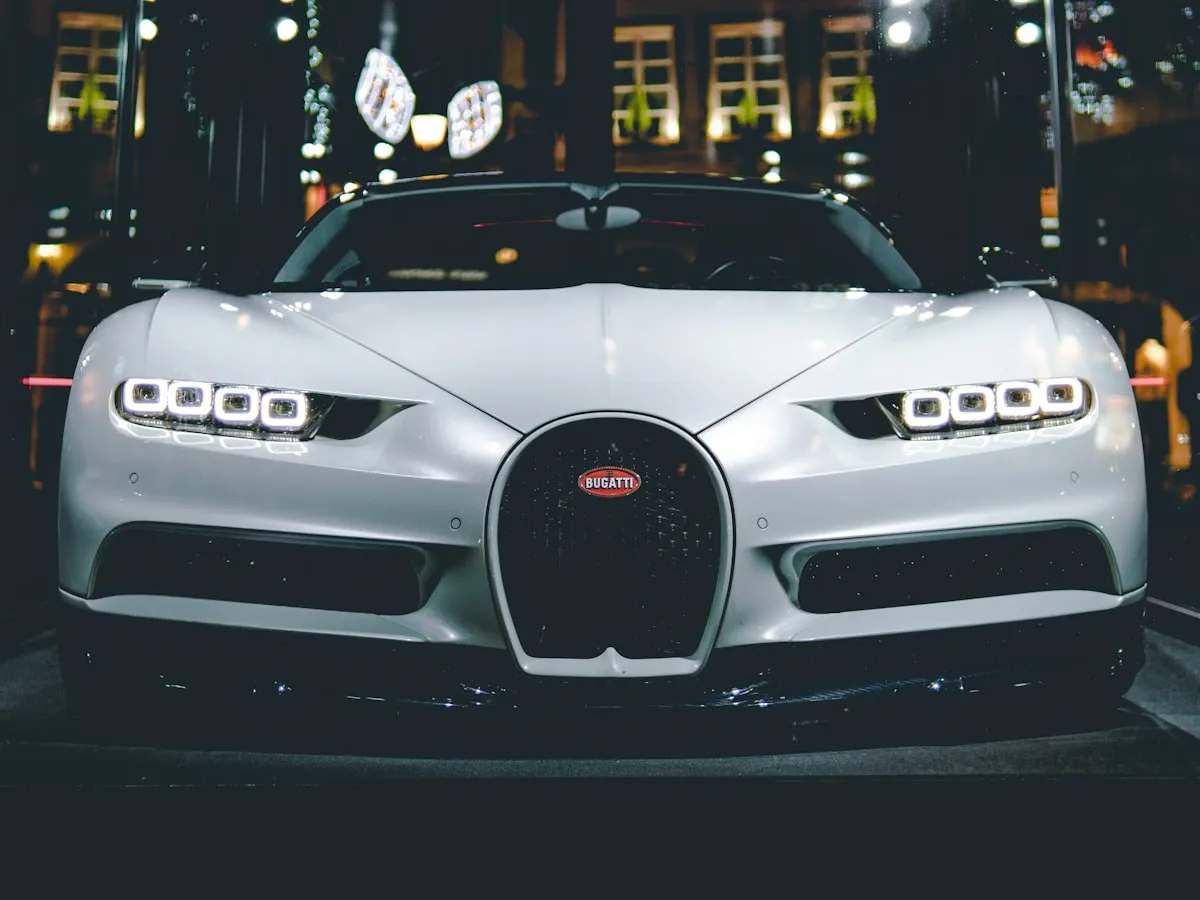
Get low and choose your angle
The most common mistake in car photography is shooting from standing height with the phone pointed slightly downward. This perspective makes every car look shorter, less aggressive, and more like a Google Street View capture than a purposeful photo.
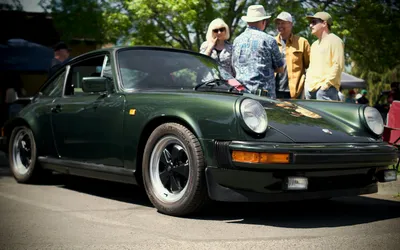
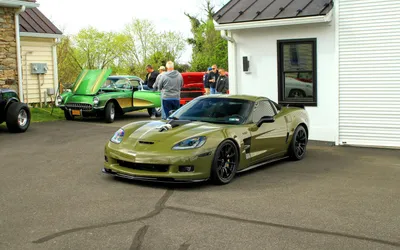
Drop down to bumper height — crouch, kneel, or even sit on the ground. Shooting from a low angle makes the car look taller and more imposing, emphasizes the wheel and tire fitment, and creates a more dynamic composition. The front three-quarter angle (positioned about 30 degrees off the front corner) is the go-to because it shows both the front fascia and the side profile in one frame.
Rear three-quarter shots work well too, especially on cars with interesting rear ends — wide fenders, diffusers, or distinctive taillights. Side profiles are great for showing wheel fitment, stance, and body lines, but they need a clean background to work.
Walk around the car before you start shooting. Look at what’s behind it, what’s next to it, and where the light is coming from. Two steps to the left might eliminate a porta-potty from the background. Three steps to the right might put a clean wall behind the car instead of a row of random vehicles.
Simplify the frame
At a busy meet, the biggest challenge is visual clutter. Other cars, people, trash cans, event signage, and parking lot lines all compete for attention in the frame. Your job is to isolate the subject.
The easiest technique is to get closer. Fill the frame with the car and leave less room for distractions. If you can’t physically get closer, use the 2x zoom on your phone (if it has a telephoto lens) rather than pinch-to-zoom, which just crops and degrades image quality.
Portrait mode (or the computational depth effect on most modern phones) can blur the background and separate the car from its surroundings. It works best when you’re shooting a detail or a three-quarter view from a moderate distance. It can struggle with complex shapes like exposed wheel spokes or antenna masts, so check the result before moving on.
Another approach: include the context intentionally. A row of cars at a meet, the event banner, or spectators walking by can tell a story if you compose it deliberately rather than accidentally. The difference between a cluttered photo and an atmospheric one is intent.
Lock exposure and focus
Phone cameras meter for the entire scene by default, which means the software is averaging the bright sky, the dark pavement, and the car’s paint into one exposure. This usually makes the car too dark or the sky too bright.
On most phones, you can tap and hold on the car’s body to lock focus and exposure. On iPhone, this activates AE/AF Lock. On Android, the interface varies but the function is similar. Once locked, the camera exposes for the car itself, not the overall scene.
If the car is still too dark after locking exposure, swipe up on the exposure slider (iPhone) or adjust the brightness control to brighten just the car. This is especially helpful for dark-colored cars that the camera tends to underexpose.
Shoot in the highest resolution your phone offers, and avoid using the digital zoom beyond 2x. You can always crop later, but you can’t add resolution back to a zoomed-in shot.
Shoot the details
Full-car shots tell the overall story, but detail photos are what get engagement on social media and capture the personality of a build. Engine bays, custom upholstery, gauge clusters, wheel and tire setups, exhaust tips, and subtle touches like painted calipers or color-matched trim pieces all deserve their own frames.
Get close and fill the frame with the detail. Use portrait mode for a natural depth-of-field effect. Shoot straight-on for engine bays and gauge clusters, and at an angle for wheels and body details.
If you’re photographing someone else’s car, ask first. Most owners are happy to pop the hood or open a door for a better shot, and the conversation itself is half the point of showing up to a meet.
Edit with restraint
A quick edit can elevate a good photo, but heavy filters and cranked-up saturation make car photos look artificial. Stick to small adjustments: slightly boost contrast, add a touch of clarity or structure to sharpen body lines, and correct the white balance if the color looks off.
Most phone photo editors — including the built-in tools on iPhone and Google Photos — handle these adjustments well. Snapseed is a free option with more precise controls. Lightroom Mobile is excellent if you want to save editing presets and apply them consistently across a set of photos from the same event.
Straighten the horizon. This takes two seconds and makes a bigger difference than any filter. A tilted horizon makes every photo look rushed.
Bottom line
Better car photography comes from better decisions, not better gear. Get low, watch the light, clean up the background, and shoot more frames than you think you need. The best photo from any meet is usually the one where you slowed down and thought about the composition for five extra seconds.