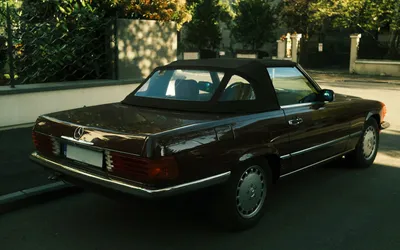
Every restoration project reaches a point where progress stalls — not because of money or skills, but because you cannot find the bolt, clip, or trim piece you removed six months ago. It is sitting in a coffee can somewhere, mixed in with forty other bolts from three different assemblies, and you have no memory of which one goes where.
This is entirely preventable. A basic parts-storage system takes an afternoon to set up and saves dozens of hours of frustration over the life of a project.
Key takeaways
- Bag and label hardware at disassembly time, not later.
- Photograph assemblies before you take them apart.
- Use clear bags so you can see contents without opening every one.
- A cheap label maker pays for itself in the first week.
- Store trim and fragile parts separately from hardware to prevent scratches and damage.
Label at the moment of removal
The single most important habit is labeling parts the instant they come off the car. Not after lunch, not at the end of the weekend, not when you get around to it. Right then.
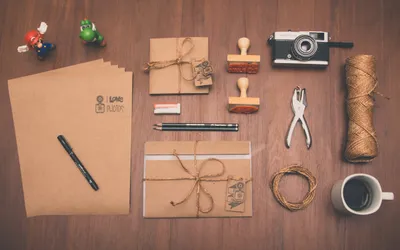
Keep a box of quart-size zip-lock bags, a permanent marker, and a roll of masking tape on your workbench. When you remove a set of bolts, they go immediately into a bag with a label: “driver door hinge bolts — upper and lower — M10x1.5.” When you pull a trim clip, it goes in a bag with its location noted.
This takes ten seconds per bag and prevents the most common restoration headache: a pile of unlabeled hardware that all looks identical but has subtly different lengths, thread pitches, or head styles. Anyone who has tried to sort a coffee can of mixed fasteners at reassembly time knows the misery.
Photograph everything before disassembly
Take photos of every assembly before you start unbolting. Get close-ups showing the routing of wiring, the orientation of brackets, and the order in which trim pieces overlap. Capture the things you think you will remember but definitely will not.
Phone photos are fine — just make sure they are organized. Create a folder for the project, and use sub-folders by area: engine bay, interior, doors, suspension, trunk. Timestamped file names make it easy to trace what came apart when.
Some restorers go a step further and shoot short videos narrating what they are doing while they disassemble. This sounds excessive until you are trying to figure out which side of a heat shield faces outward or how a complex linkage routes through a firewall.
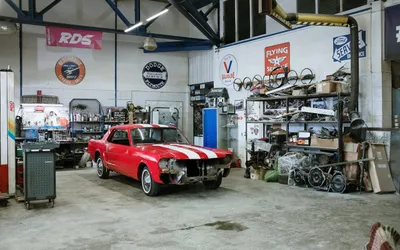
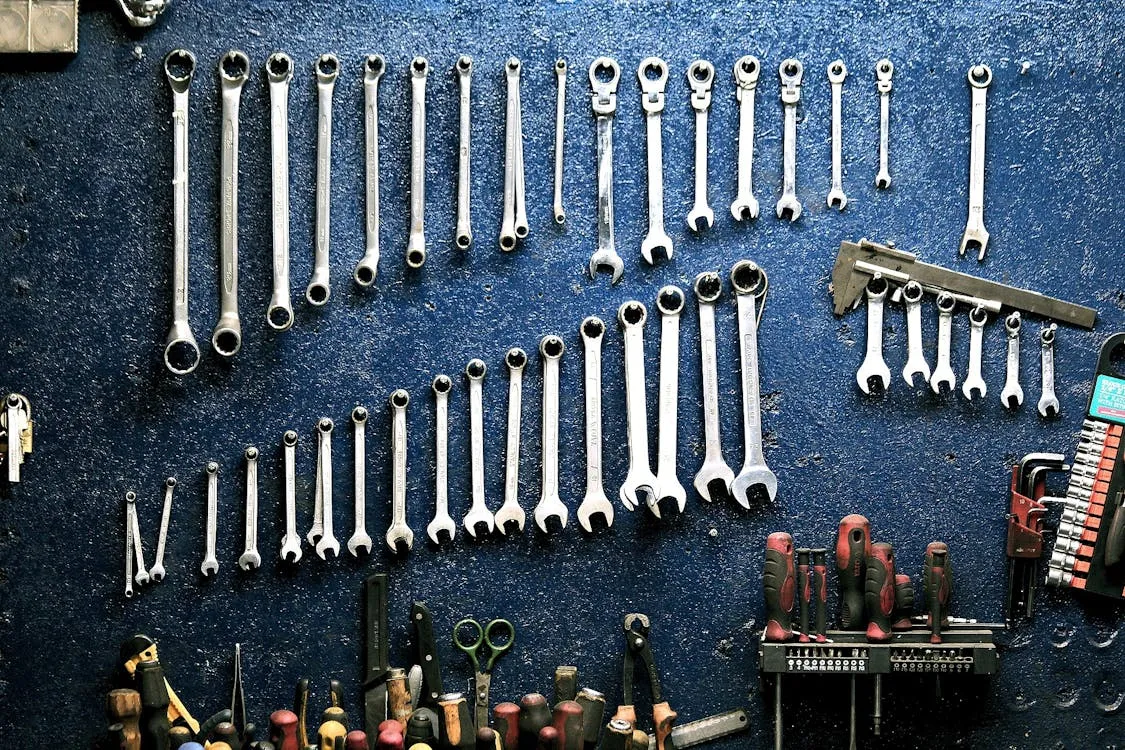
Hardware storage systems that actually work
Small-parts organizers with divided compartments work well for fasteners, but only if each compartment is labeled. A bin full of sorted-but-unlabeled bolts is only marginally better than a bin of mixed ones.
The most practical system combines three things: zip-lock bags for initial capture at the car, a label maker for clean identification, and stackable organizer bins for longer-term storage. Sort bags into bins by area — engine, interior, suspension, body, electrical — and keep the bins on a shelf near your workspace.
Hardware-store parts cabinets with small drawers work too, but they fill up fast on a full restoration. The bag-and-bin system scales better and takes up less bench space.
For bolts and fasteners you plan to reuse, consider a magnetic tray at your bench to catch hardware during active work sessions. At the end of each session, bag and label anything that came off the car. Do not let parts accumulate loose on the bench overnight.
Storing trim, glass, and fragile parts
Chrome trim, interior panels, glass, and weatherstripping need different treatment than bolts. These items scratch, bend, and crack if they are stacked bare or leaned against each other.
Wrap chrome and stainless trim in soft cloths or moving blankets before storing. Stand long trim pieces vertically in a corner rack or PVC pipe holder rather than laying them flat where they can get stepped on or buried under other parts.
Interior panels should be stored face-to-face with a soft cloth between them, laid flat on a shelf. Stacking them at angles invites warping and cracking, especially on older plastic and fiberboard pieces.
Rubber weatherstripping and seals should be stored flat or in loose coils — never folded. Folding creates permanent creases that will not relax back out, even with heat. If you are replacing seals, keep the old ones until the new ones are installed. They are useful references for routing and fitment.
Keep a running inventory
A simple spreadsheet or even a notebook page listing what you have stored, where it is, and its condition prevents the classic problem of buying parts you already own. List the part, its location in your storage system, its condition (good, needs refinishing, replace), and any notes about fitment or sourcing.
This matters especially for NOS (new old stock) and hard-to-find parts. Knowing exactly what you have and what you still need lets you shop smarter at swap meets and online. It also makes it easier to hand off a project to another builder or sell a parts collection if your plans change.
Update the inventory when parts go back on the car. Nothing is more frustrating than tearing through bins looking for a part that is already installed.
Helpful references
Bottom line
Parts storage is not glamorous, but it is the difference between a project that moves forward and one that stalls over missing hardware. Bag, label, photograph, and shelve parts at disassembly time, and reassembly becomes dramatically faster and less frustrating.