After a winter of road salt, brake dust, and freezing rain, your paint probably feels rough to the touch even after a thorough wash. That gritty texture is bonded contamination — industrial fallout, ferrous particles, and mineral deposits embedded in the clear coat. The question isn’t whether to decontaminate. It’s how far to go.
Key takeaways
- The “baggie test” tells you instantly if your paint needs decontamination
- Iron removers handle brake dust and ferrous fallout that clay alone struggles with
- Clay bars physically pull contamination but can mar soft paint if used aggressively
- Machine polishing removes defects that decontamination can’t — scratches, swirls, oxidation
- Start with the least aggressive step and only escalate if the paint still feels rough or looks dull
How to assess your paint condition
Before you buy anything, run the baggie test. Wash the car, dry it, then put your hand inside a thin plastic sandwich bag and glide your fingertips across a flat panel like the hood or roof. The plastic amplifies texture. If the surface feels smooth like glass, you’re fine — just wash and protect. If it feels gritty or rough, you have bonded contamination that needs removal.
Next, look at the paint in direct sunlight at a low angle. Swirl marks, scratches, and hazing are separate problems from contamination. Decontamination removes embedded particles. Polishing corrects surface defects. Confusing the two leads to people clay-barring a car that actually needs a polish, or polishing a car that just needs decontamination.
When iron remover is the right first step
Iron removers are chemical decontaminants that react with ferrous particles — mainly brake dust — embedded in the clear coat. You spray them on a clean, dry panel, wait a few minutes, and watch the product turn purple as it dissolves iron deposits. Then you rinse it off.
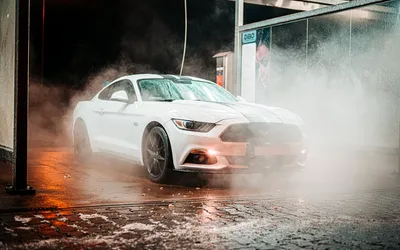
This step is especially valuable after winter because brake dust accumulates heavily on wheels and lower body panels during months of driving on wet, gritty roads. An iron remover reaches particles that clay can’t chemically dissolve, and it does so without any mechanical contact with the paint. That means zero risk of marring during this step.
Use iron remover before clay, not after. It reduces the workload for the clay bar by eliminating the toughest embedded particles first, so the clay glides more easily and picks up less material. Most iron removers are pH-neutral and safe for coatings, sealants, and wax, though you’ll want to reapply protection afterward anyway.
Where clay bar fits in
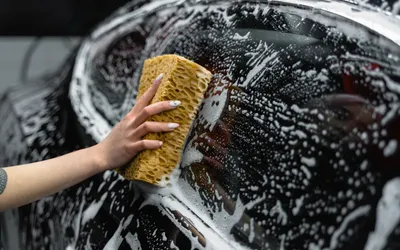
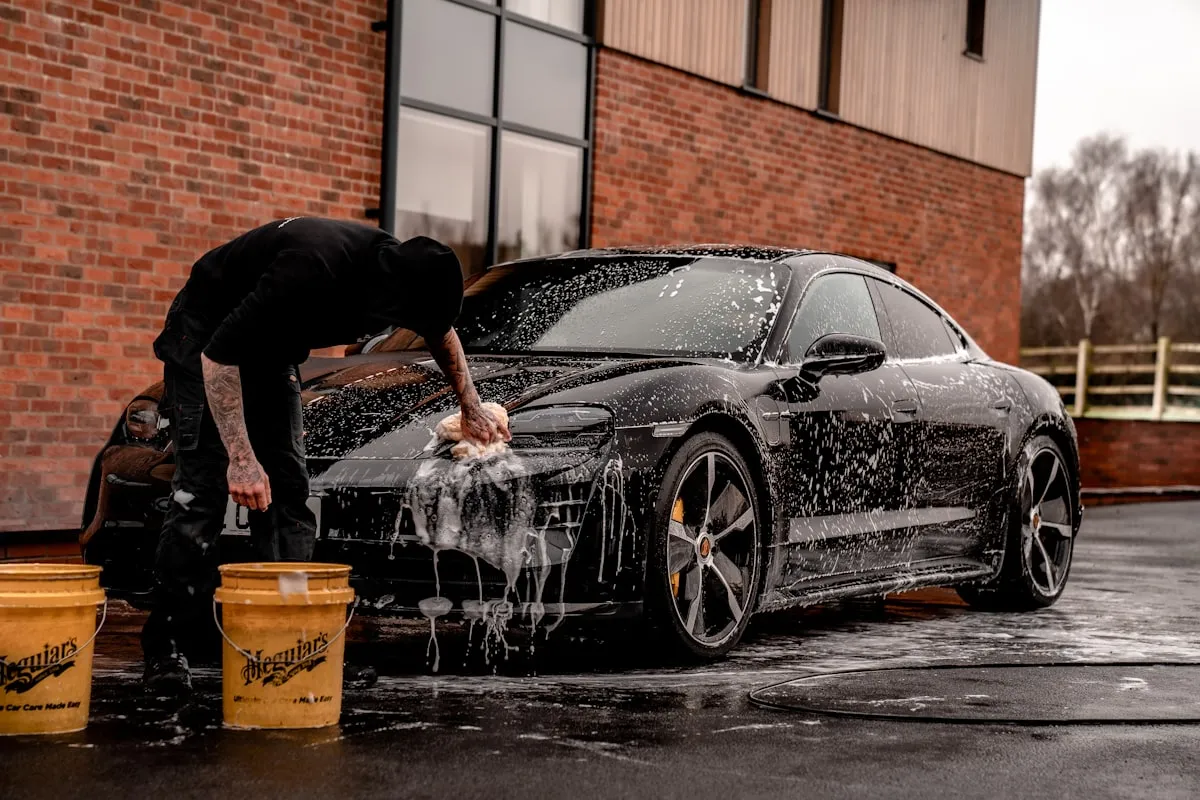
Clay barring is a mechanical decontamination step. You lubricate the surface with a dedicated clay lubricant or a diluted quick detailer, then glide the clay across the paint. The clay picks up tree sap residue, paint overspray, tar spots, and remaining mineral deposits that the iron remover didn’t address.
The key is lubrication and pressure. Use plenty of lubricant and let the clay glide with minimal pressure. Aggressive clay work on dry or under-lubricated paint will create marring — fine scratches that look like a haze. On darker cars especially, this marring is visible and defeats the purpose of the exercise.
If you haven’t clayed your car before and the contamination is heavy, consider a clay mitt or clay towel instead of a traditional bar. They cover more surface area, are easier to handle, and are less likely to pick up a piece of grit and grind it across the paint. They’re slightly less aggressive than a fine-grade clay bar, which is actually an advantage for most daily drivers.
After claying, run the baggie test again. The paint should feel slick and smooth. If it does, you’ve completed decontamination and you’re ready to protect the surface with a sealant, wax, or ceramic spray.
When polishing is actually necessary
Polishing removes a thin layer of clear coat to level out scratches, swirls, and oxidation. It’s a correction step, not a cleaning step, and it’s only necessary if the paint has visible defects after decontamination.
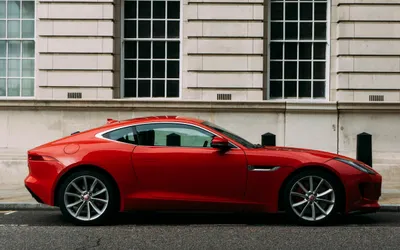
If your car is a 2020 or newer daily driver that’s been through a few winters but never had heavy scratches, you probably don’t need to polish. Decontamination plus a good sealant will make it look sharp. If you’re working with older paint, black or dark-colored finishes that show every swirl, or a car that’s been through automatic car washes, polishing will make a dramatic difference.
Hand polishing with a finishing polish is possible but slow and inconsistent. A dual-action (DA) polisher is the standard recommendation for DIY work because it’s far less likely to burn through clear coat than a rotary. If you’ve never used a DA polisher, start with a light finishing polish and a soft pad on a test panel — the trunk lid or a lower door is a safe practice area.
The critical rule: never polish before decontaminating. Polishing contaminated paint grinds the embedded particles across the surface, creating deeper scratches than the ones you’re trying to remove.
Choosing the right level for your situation
Here’s a practical decision tree:
Paint feels smooth after washing? Apply protection (sealant, wax, or ceramic spray) and you’re done.
Paint feels rough after washing? Start with an iron remover, then clay bar if needed. Reapply protection.
Paint feels smooth but looks swirled or hazed? Polish with a DA polisher, then apply protection.
Paint feels rough AND looks swirled? Iron remover, clay, polish, then protect. This is the full reset, and it’s worth doing once a year if you care about how the paint looks.
Most daily drivers need the iron-remover-and-clay combo once in spring and light protection top-ups through the summer. Save the polish for an annual or biannual correction session.
Helpful references
Bottom line
Match the treatment to the problem. Contamination needs chemical and mechanical removal. Defects need correction. Doing both when you only need one wastes time and product — doing neither leaves your paint unprotected heading into summer.