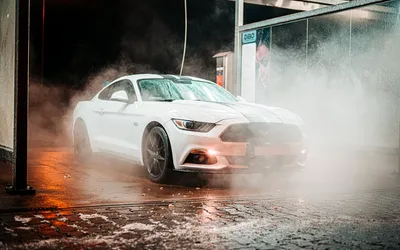
March is when I start seeing the evidence of winter on every car in every parking lot — white salt tide marks on rocker panels, gritty floor mats, and paint that’s lost its depth under a film of road residue. A standard car wash won’t cut it after four months of salted roads. You need a deliberate sequence that actually removes contamination rather than redistributing it.
Key takeaways
- Start with the undercarriage and wheel wells before touching the paint — salt hides where you can’t see it
- Iron decontamination is non-negotiable after winter; brake dust and road iron embed into clear coat and can’t be washed away
- Clay bar treatment should follow every chemical decontamination pass, before any polish or wax
- Interior deep cleaning takes longer than the exterior — budget the same amount of time for both
- Paint chip inspection is easiest on clean, dry paint before you apply any protectant
Start underneath — that’s where the damage is
The undercarriage is the part most people skip, and it’s exactly where salt causes the most harm. Road salt mixed with water creates an electrolyte solution that accelerates rust on steel components — subframes, brake lines, suspension arms, exhaust hangers. If you park on a warm day and look underneath, you’ll often see a crusty white residue packed into every crevice.
A pressure washer works better than a hose here. Get into the wheel wells, along the frame rails, around the fuel tank straps, and anywhere you see accumulated buildup. Pay attention to the area behind the front bumper where slush gets trapped and sits for weeks. You don’t need any product at this stage — the goal is mechanical removal with water pressure before anything else.
Wheel wells are a separate task. Most of them are lined with plastic cladding that traps a paste of salt, sand, and road film behind it. Spray up into the well from multiple angles, and if you have a detailing brush long enough to reach, scrub the liner itself before rinsing.
Wheels and brake dust before the paint
Brake dust bonds to wheel finishes with heat every time you slow down, and it’s mildly acidic. After a winter of wet braking, wheel surfaces can look almost orange from oxidized iron particles. Standard wheel cleaner will help, but if the buildup is heavy, use an iron-reactive wheel cleaner — the kind that turns purple on contact with contamination. Let it dwell for a few minutes, agitate with a soft brush, then rinse.
Don’t move to the paintwork until the wheels are done. You’ll just be cross-contaminating clean surfaces with iron-laden rinse water if you do it in the wrong order.
Chemical decontamination on the paint
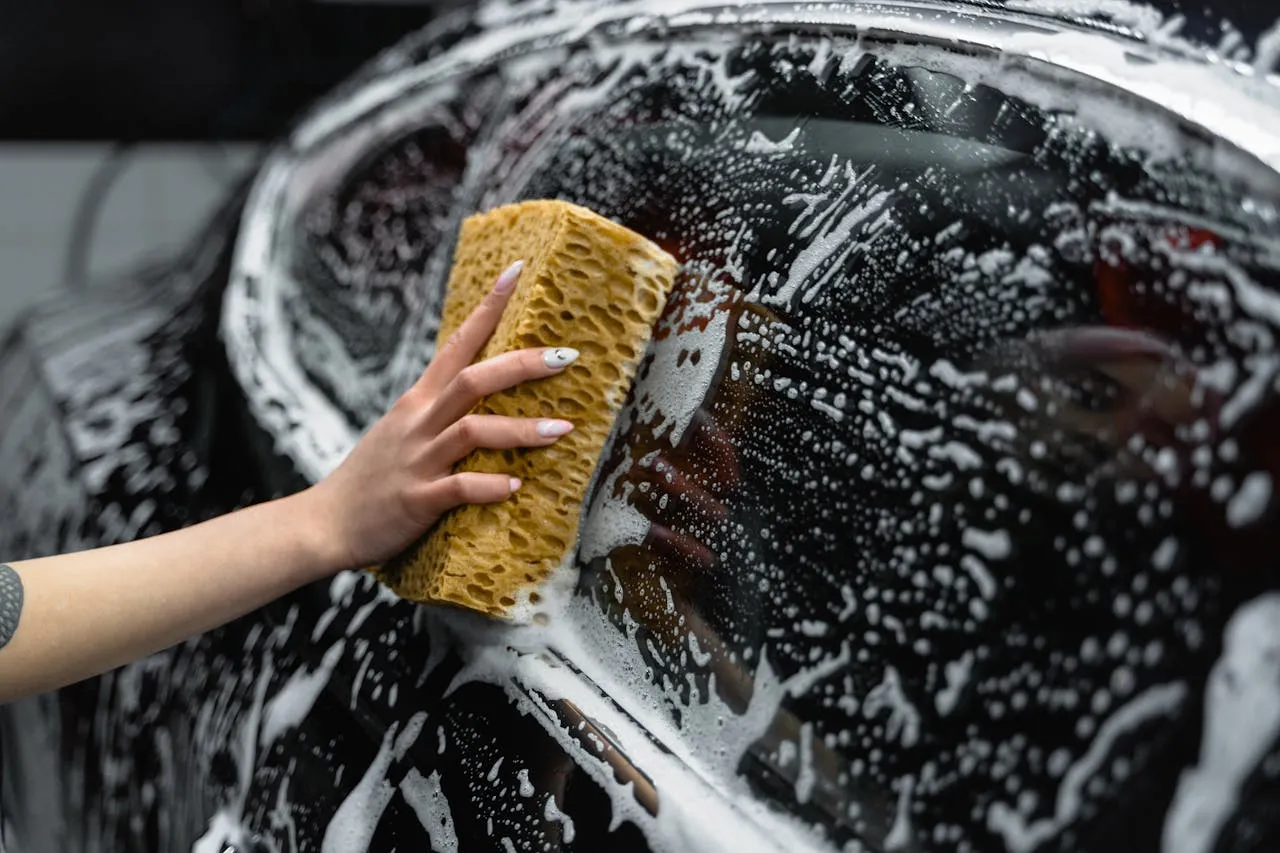
Washing the car after the undercarriage and wheels should come next. Use a proper two-bucket wash method or a foam cannon if you have one — the goal is to avoid dragging grit across the paint.
After the wash and rinse, the paint may look clean but it almost certainly isn’t. This is where iron remover comes in. Spray it panel by panel and watch for the purple reaction — that’s the product breaking down iron particles that are physically embedded in the clear coat. If you had a lot of fallout exposure (highway driving, proximity to railways, industrial areas), you may see significant color change even on a car that looks clean.
After rinsing the iron remover, follow with a tar and adhesive remover on the lower panels. Door sills, lower bumpers, and rocker panels collect road tar that iron remover alone won’t touch. Apply it to a microfiber, work in small sections, and don’t let it dry on the surface.
Clay bar — every time
If you skipped iron decontamination and went straight to clay, you’d be dragging iron particles across the paint. That’s why order matters. After the chemical decontamination is done and the car is rinsed, clay is the next step.
Work panel by panel with plenty of clay lubricant. You’ll feel the resistance drop as the clay pulls remaining surface contamination away. A fresh clay bar on a winter car will look noticeably dirty by the time you finish. Fold it regularly to expose a clean face and check that you haven’t picked up any grit that could scratch.
After claying, the paint should feel almost frictionlessly smooth when you run a knuckle across it. If a panel still feels rough, work it again.
Paint inspection for chips and oxidation
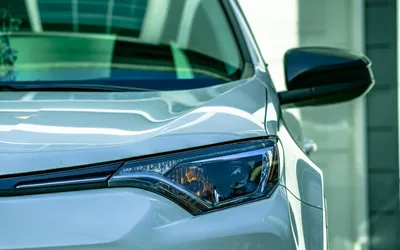
Clean, dry paint before any protectant is the only time you’ll see chips clearly. Go around the car in good daylight and look especially at the hood leading edge, roof edge, door edges, and the front bumper lower lip. Chips that have sat through winter with bare metal exposed may already have rust halos forming.
Touch-up paint won’t make chips invisible, but it will stop them from spreading. Even a rough application that you scuff back with a 3000-grit pad is better than leaving bare metal through another year of weather. This is also the time to note any clear coat peeling — areas where the clear has lifted or bubbled won’t take wax, and you’ll need professional attention eventually.
Interior: the part that actually takes longer
Salt doesn’t just attack the exterior. It gets tracked in on boots and pants legs, and it settles into carpet fibers, seat upholstery, and door sill trim. After a long winter, the interior has absorbed months of wet gear, ice melt residue, and general muck.
Pull the floor mats and clean them separately — either a pressure washer outside or a carpet cleaner inside. Salt deposits in carpet respond well to a solution of warm water and white vinegar before extracting. Work the carpet with a stiff brush to break up packed debris before applying any cleaner.
Wipe down all hard surfaces including door sills, footwell trim, and the lower dash panels where boot splash tends to collect. Leather seats will need a conditioner after cleaning — winter is hard on leather, and dry leather cracks faster than you’d expect.
Don’t forget the HVAC system. Run the fan on high and consider a cabin air filter replacement if you haven’t done one recently. If there’s any musty smell, an HVAC disinfectant spray directed into the intake with the blower running will help.
Bottom line
Spring detailing after a salt winter isn’t about making the car look nice for car season — it’s about stopping active corrosion and clearing months of contamination before it does permanent damage. The sequence matters: undercarriage first, then wheels, then chemical decontamination, clay, inspection, and finally interior. Skip any of those steps and you’re either leaving corrosive material in place or locking contamination under your protectant.
Expect to spend four to six hours on a thorough pass. It’s worth it every year.