Cloudy headlights aren’t just ugly, they’re a safety problem. Oxidized lenses can reduce light output by 80 percent, turning your headlights into dim suggestions rather than functional illumination. With fall’s shorter days and wetter roads approaching, now is the time to address the problem properly. The right method depends on how far the oxidation has progressed, and a quick wipe with a restoration spray usually isn’t enough.
Key takeaways
- Most headlight cloudiness is UV-damaged clear coat on the outside of the lens, not internal fogging
- Spray-on restoration products provide temporary improvement but fail within weeks to months
- Wet sanding followed by UV-resistant clear coat is the only method that produces lasting results
- Internal moisture or yellowing requires a different approach and may mean lens replacement
- Restored headlights need UV protection to prevent re-oxidation
Understanding why headlights cloud up
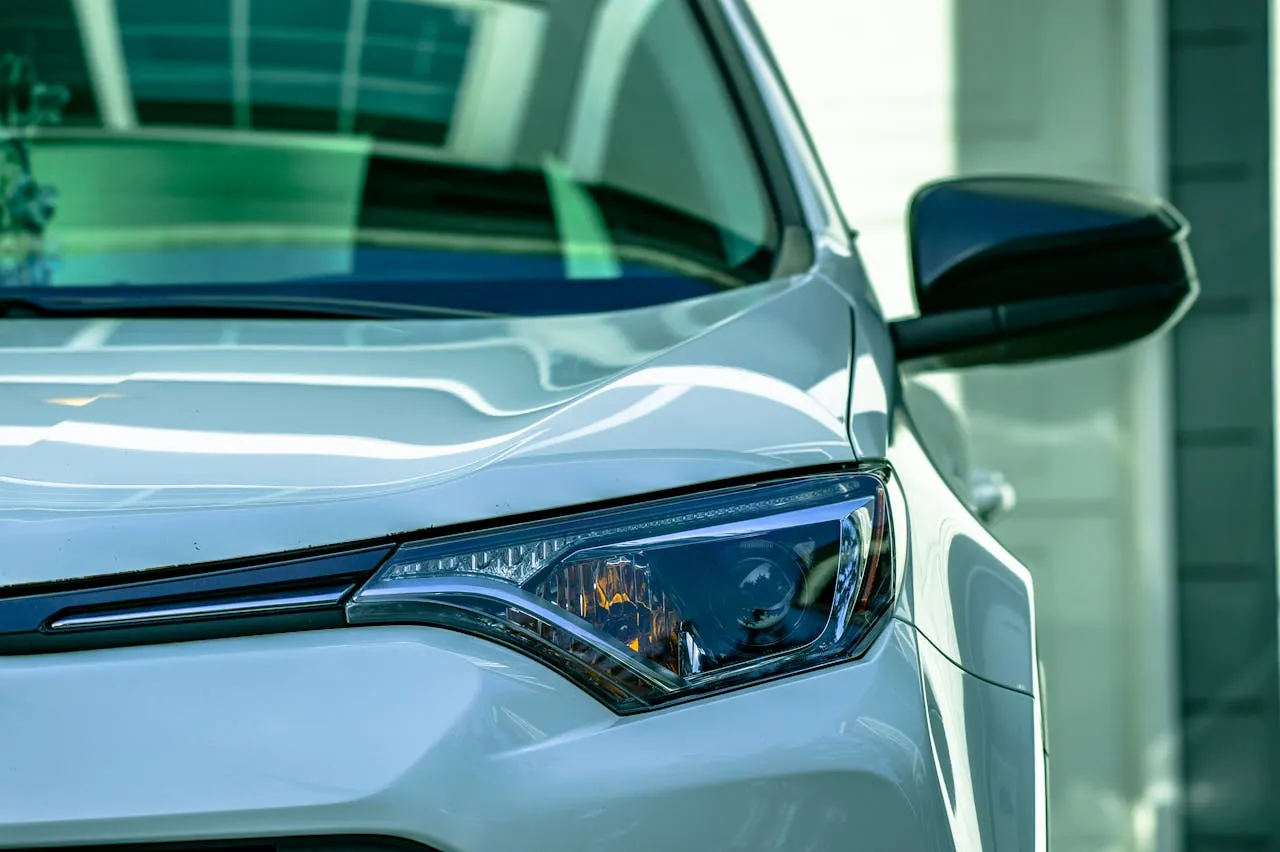
Modern headlight lenses are made from polycarbonate plastic, which is lightweight and shatter-resistant but vulnerable to UV radiation. The factory applies a clear coat to protect the polycarbonate, but that coating degrades over time from sun exposure, road debris, and chemical contact.
Once the clear coat fails, UV light attacks the polycarbonate directly. The surface oxidizes, turning hazy and yellow. This process accelerates in hot, sunny climates, but eventually happens everywhere. Cars parked outside age faster than garage-kept vehicles, and the south-facing headlight on a car that always parks in the same direction often looks worse than the other side.
Internal fogging is a separate issue. If you see moisture droplets inside the lens housing, the problem is a failed seal or a cracked housing, not surface oxidation. Restoring the exterior won’t fix internal moisture. That requires removing the headlight assembly, drying it out, and resealing or replacing the housing.
When a quick wipe works (and when it doesn’t)
Spray-on headlight restoration products use mild chemical compounds to dissolve the top layer of oxidation. They work on lenses with light haze, the kind where the plastic looks slightly cloudy but you can still clearly see the bulb and reflector inside.
The problem is longevity. These products remove oxidation without replacing the UV protection that prevented it in the first place. The improvement lasts a few weeks to a few months before the oxidation returns, often worse than before because the remaining clear coat is thinner.
For a car you’re selling next month, a spray-on product is fine. It costs $10, takes five minutes, and makes the headlights look noticeably better for the photos. For a car you’re keeping, it’s a waste of time and money because you’ll repeat the process every few months with diminishing returns.
Toothpaste and baking soda hacks fall into the same category. They’re mild abrasives that temporarily improve clarity but offer zero UV protection. Skip the life hacks and use a proper method.
The wet-sanding method that actually lasts
Wet sanding is the professional-grade approach, and it’s completely doable in a driveway with basic supplies. The process removes the damaged clear coat and oxidized plastic, then replaces it with a fresh UV-resistant coating.
Start by taping off the paint around the headlight with painter’s tape. You want at least an inch of coverage on all sides because sandpaper on paint creates scratches you’ll regret.
Begin with 800-grit wet sandpaper, keeping the surface wet at all times. Sand in horizontal strokes across the entire lens until the surface is uniformly hazy with no clear spots. This removes the bulk of the damaged material. Switch to 1500-grit and sand in vertical strokes, then finish with 2500-grit or 3000-grit in horizontal strokes again. Each step removes the scratches from the previous grit and progressively smooths the surface.
After the final sanding step, the lens will look uniformly frosted. This is normal. Wipe it clean with isopropyl alcohol to remove all sanding residue and let it dry completely.
The critical final step is applying a UV-resistant clear coat. Without this, the bare polycarbonate will re-oxidize within weeks. Use a spray clear coat specifically formulated for headlights, or a two-part automotive clear coat if you want maximum durability. Apply two to three light coats with five minutes between each, keeping the can 8-10 inches from the surface. Let it cure for 24 hours before driving in rain.
Common mistakes and how to avoid them
Sanding too aggressively with coarse grit leaves deep scratches that finer grits can’t fully remove. If you can still see individual scratch lines after the 2500-grit step, go back to 1500 and work the area more evenly. Patience here saves frustration later.
Skipping grits is another common error. Jumping from 800 to 3000 doesn’t save time because the finer grit can’t efficiently remove the deeper scratches from the coarser paper. Each step is designed to refine the surface left by the previous one. Follow the progression.
Applying clear coat too thick causes runs and drips. Multiple light coats build up a smooth, even layer. If you get a run, let it cure fully, then wet sand it out with 2000-grit and recoat. Trying to wipe a run while the clear coat is wet makes it worse.
Not taping properly is how people end up with sanding scratches on their fenders and hood. Use quality automotive painter’s tape, not masking tape from the junk drawer. Proper tape removes cleanly and stays put during the job.
When to replace instead of restore
Some headlights are too far gone for restoration. If the polycarbonate is deeply pitted from rock chips, cracked, or so severely yellowed that the plastic itself has changed color throughout its thickness, sanding won’t produce a clear result. You’ll sand through the damaged layer and find more damaged material underneath.
Internal delamination, where the reflective coating inside the housing peels or bubbles, is also a replacement situation. No amount of exterior restoration fixes a failing reflector.
Replacement headlight assemblies range from $50-$200 for aftermarket units to $300-$1,000+ for OEM parts, depending on the vehicle. For cars with basic halogen housings, aftermarket replacements are usually fine. For cars with projector housings, HID, or LED systems, OEM or high-quality aftermarket units are worth the premium because optics matter significantly for beam pattern and output.
Helpful references
- NHTSA Vehicle Safety Resources – Lighting safety standards and recalls
Bottom line
If your headlights are hazy, wet sanding with a proper clear coat finish is the only restoration method that lasts. Quick sprays and toothpaste are temporary fixes at best. Do the job right once before fall arrives, and you’ll have clear, safe headlights through the dark months ahead. If the lenses are cracked, deeply pitted, or failing internally, replacement is the better investment.