The best time to prep your car for winter is before you need to. Once road salt is caking the rocker panels and ice is freezing your doors shut, you are in damage-control mode. A couple of hours in October, while the weather is still comfortable enough to work outside, sets your car up for a much easier winter.
This routine focuses on three areas that take the most abuse in cold months: paint, glass, and rubber seals.
Key takeaways
- A thorough wash, clay, and sealant session in fall creates a barrier that lasts through winter.
- Treating glass with a hydrophobic coating dramatically improves wet and icy visibility.
- Rubber door seals crack and freeze when neglected — silicone treatment prevents both.
- Clean and treat weatherstripping now to avoid frozen doors and water leaks later.
- This entire routine takes two to three hours and requires no special skills.
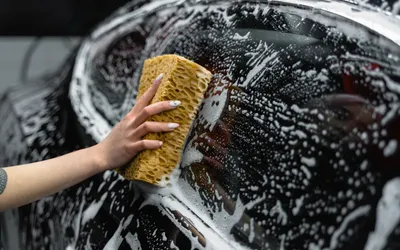
Wash, decontaminate, and seal the paint
Start with a proper two-bucket wash to get surface dirt off. Follow with a clay bar or clay mitt to pull embedded contaminants — brake dust, industrial fallout, tree sap residue — out of the clear coat. This step matters because sealant bonds better to clean, smooth paint.
Then apply a paint sealant or ceramic spray coating. Sealants outperform traditional carnauba wax in winter because they last longer and resist salt and road chemicals better. Products like Meguiar’s Hybrid Ceramic Wax, Turtle Wax Hybrid Solutions Ceramic Spray Coating, or Griot’s Garage Ceramic 3-in-1 Wax all apply easily and provide several months of protection.
The goal is not a show-car shine — it is creating a slick surface that road salt and grime cannot bond to. Sealed paint rinses cleaner during winter washes, which means less scrubbing and less chance of grinding salt into the clear coat with a wash mitt.
Do not forget the lower body panels, wheel wells, and rocker panels. These areas catch the most salt spray and benefit the most from a protective coating. A spray sealant makes quick work of the hard-to-reach areas.
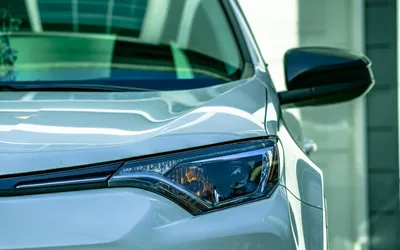
Treat the glass for visibility
Rain-X or a similar hydrophobic glass coating is one of the most underrated cold-weather upgrades. Treated glass sheds water, sleet, and light snow more effectively, and ice scrapes off much easier in the morning because it cannot bond as tightly to the coated surface.
Apply the treatment to the outside of all glass, including side windows and mirrors. Clean the glass thoroughly first with a glass-specific cleaner — household window cleaners often leave residue that interferes with the hydrophobic coating.
The windshield is the priority, but treated side windows are surprisingly useful in rain. Water beads and blows off at speed, keeping your view clearer without relying entirely on wipers you might not have on those surfaces.
While you are at the glass, replace your wiper blades if they are streaking or chattering. Fresh blades are cheap insurance, and they are much easier to install in October than in January with frozen fingers. Beam-style blades handle ice and snow better than traditional bracket wipers because they have no exposed frame for ice to pack into.
Condition door seals and weatherstripping
Rubber door seals freeze to the body in cold weather, and when you pull the door open, the seal tears. This is an expensive and annoying problem that is almost entirely preventable with a silicone-based rubber conditioner.
Clean the seals with a damp cloth to remove dirt and old dressing, then apply a thin coat of silicone lubricant or a rubber protectant like 303 Aerospace Protectant or Shin-Etsu grease. The silicone prevents water from bonding to the rubber surface, which is what causes freeze-bonding in the first place.
Treat every seal — all four doors, the trunk or hatch, and the hood seal if your vehicle has one. Pay extra attention to seals on the driver’s door since that one gets opened the most and takes the most wear.
Inspect the seals while you are treating them. Look for cracks, tears, or sections that have pulled away from the door frame. A damaged seal lets water into the cabin, causes wind noise, and will only get worse in freezing conditions. Replacing a door seal is a straightforward DIY job on most vehicles and costs far less than the water damage a failed seal can cause.
Hit the undercarriage while you can
If you have access to a pressure washer or a self-serve car wash with an undercarriage rinse, give the underside a thorough spray. Remove any mud, grass, and debris that accumulated over summer — these trap moisture against bare metal and accelerate rust once salt is added to the mix.
Some owners apply an undercoating spray or a product like Fluid Film to exposed undercarriage components for additional winter protection. This is especially worthwhile on trucks and SUVs that see heavy salt exposure or on older vehicles with less factory corrosion protection.
The undercarriage is out of sight, but it is where winter does the most permanent damage. A clean underside going into the season is half the battle.
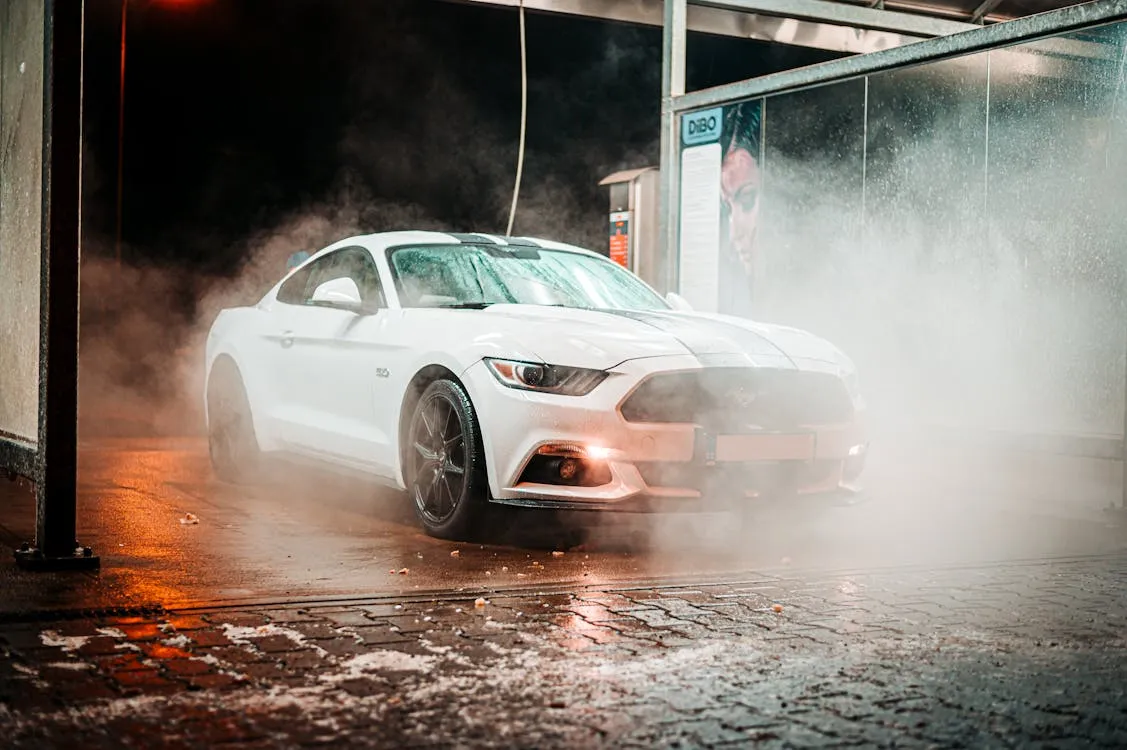
Build a winter wash habit
Pre-winter prep buys you time, but it does not eliminate the need for washing during the season. Plan on rinsing the car — especially the lower body and wheel wells — every week or two during salt season. You do not need a full detail every time. A quick touchless wash or a pressure rinse focused on the salt-heavy areas keeps corrosion at bay.
The sealant you applied in October makes these maintenance washes faster and more effective. Salt slides off sealed paint instead of bonding to it, which means a five-minute rinse does the work of a twenty-minute scrub.
Helpful references
Bottom line
Two hours of prep work in October prevents months of frustration and potential damage during winter. Seal the paint, treat the glass, condition the rubber, and clean the undercarriage. Your future self, scraping ice at 6 AM, will thank you.