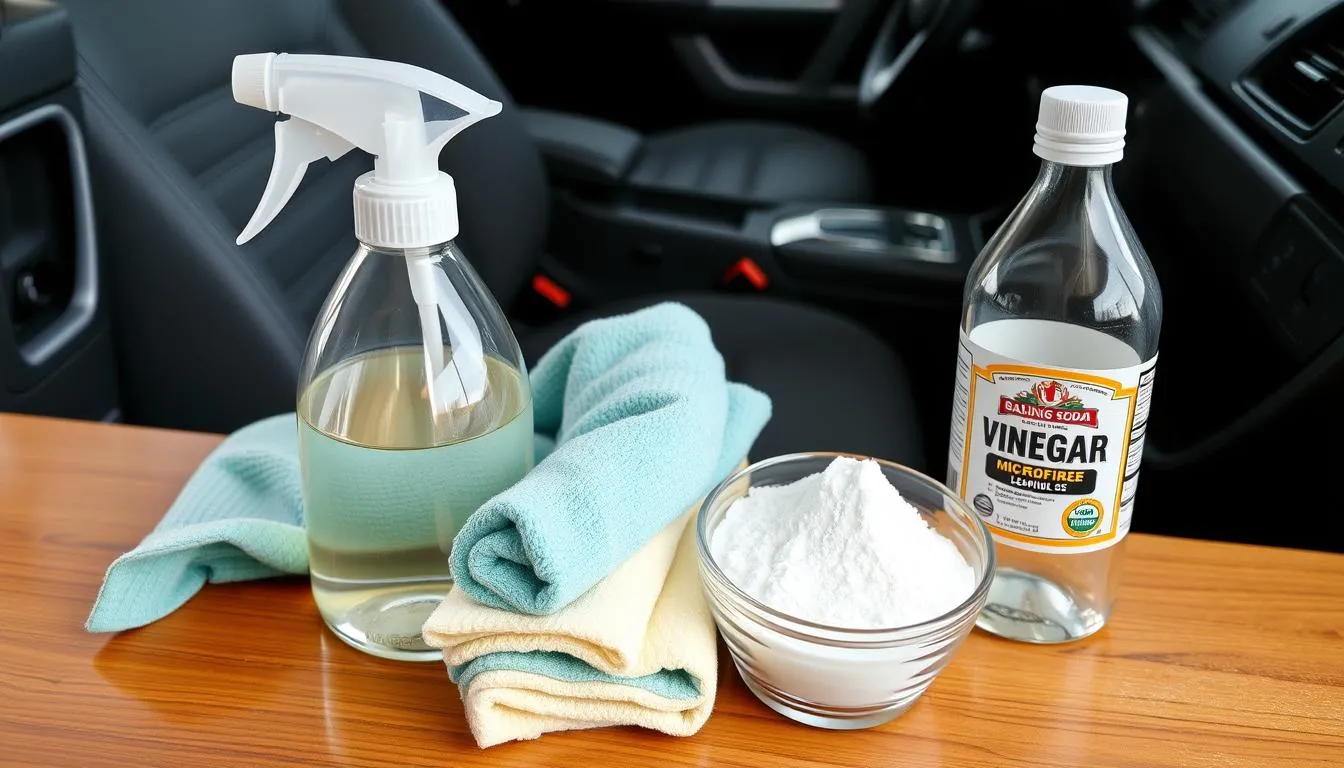
You can clean most of a car’s interior with what’s already under your kitchen sink — but a few common household cleaners will damage trim, fade leather, or fog touchscreen coatings. The difference between a clean interior and a permanently scuffed one is mostly which bottle you reach for, and how much you dilute it.
The short version: dish soap and water for most surfaces, isopropyl alcohol for glass and hard plastics, dedicated leather cleaner for leather, and nothing with bleach, ammonia, or solvent strippers anywhere in the cabin.
Safe vs. Unsafe at a Glance
| Household Product | Safe for Car Interiors? | Best Use | Avoid On |
|---|---|---|---|
| Dish soap (mild, diluted) | Yes | Cloth, vinyl, plastic trim, mats | Leather (use leather cleaner) |
| Isopropyl alcohol (50–70%) | Yes | Glass, hard plastics, sticky residue | Painted dash, leather, touchscreens (full strength) |
| White vinegar (diluted 1:1) | Yes | Glass, vinyl, light cloth stains | Leather, chrome trim, sensitive electronics |
| Baking soda (dry or paste) | Yes | Carpet odor, fabric stains, mat scrubbing | Touchscreens, leather, polished surfaces |
| Microfiber cloths | Always | Every surface | (Not a cleaner — pair with mild solution) |
| Bleach / chlorine cleaners | No | Nothing | Every interior surface |
| Ammonia / Windex | Limited | Outside glass only | Tinted windows, touchscreens, leather |
| Magic Eraser (melamine) | Caution | Hard plastic scuff marks | Painted trim, leather, glossy finishes |
| All-purpose degreaser | Limited | Floor mats, engine bay | Cabin surfaces (too aggressive) |
| Furniture polish (Pledge etc.) | No | Furniture, not cars | Dashboard (creates glare/slip) |
| Acetone / nail polish remover | No | Nothing | All trim and plastics (will dissolve) |
Cloth Seats
Cloth absorbs moisture, so the rule is “less is more.” Soak a cloth seat and you trade a small stain for a larger water mark and a four-day drying job that can grow mildew if the car sits.
What to use:
- Mild dish soap solution — about 1 teaspoon dish soap in 2 cups warm water. Apply with a microfiber cloth, agitate gently, then blot dry.
- Diluted white vinegar for set-in stains — equal parts vinegar and water. Test in an inconspicuous spot first.
- Baking soda paste for greasy stains — sprinkle dry baking soda, let sit 15 minutes, vacuum, then dab with the dish soap solution.
How to clean:
- Vacuum thoroughly first to remove crumbs and grit
- Lightly mist the area with cleaning solution — do not soak
- Blot from outside the stain inward to keep it from spreading
- Wipe with a clean damp microfiber to lift residue
- Press a dry towel hard against the seat to pull out moisture
- Leave windows cracked to dry; a small fan speeds it up
Steam cleaners are the gold standard for cloth — they sanitize and lift soils without saturating the fabric. A handheld steamer (~$50–$100) is a worthwhile one-time buy if you keep a car for years.
Leather Seats
Leather is the surface most easily damaged by the wrong household product. The protective topcoat on modern automotive leather is what gives it color and softness; aggressive cleaners strip the coating, after which the leather dries, cracks, and changes color.
What to use:
- Dedicated automotive leather cleaner (Lexol, Leatherique, Chemical Guys, Meguiar’s) — these are pH-balanced for the topcoat
- Plain water on a damp microfiber for daily wipe-downs
- Mild dish soap heavily diluted (a few drops in a quart of water) for emergency cleaning when no leather product is available
What to avoid:
- Vinegar — too acidic, breaks down the topcoat over time
- Baking soda paste — abrasive, scuffs the surface
- Magic Erasers — also abrasive
- Alcohol — strips the protective finish
- “Coconut oil” or olive oil “hacks” — leave residue, attract dirt, can damage stitching
After cleaning, condition the leather every 3–6 months with a real leather conditioner. The conditioner replaces oils that wear out from sun exposure and use; without it, the leather stiffens and cracks.
Vinyl and Plastic Trim (Dashboard, Door Panels)
Most cabin trim is vinyl or hard plastic with a textured matte finish. The wrong cleaner makes these surfaces shiny in a way that creates glare on the windshield.
What to use:
- Mild dish soap solution for general cleaning
- Diluted vinegar (1:1 with water) for tougher grime — test first on a hidden area
- Cotton swabs for vents and seam dust
- Soft-bristled brush for textured surfaces that hold dust in the grain
What to avoid:
- Furniture polish — leaves slick residue that bounces sunlight into the driver’s eyes and can transfer to the windshield
- Tire-shine products — same issue plus they break down vinyl over time
- Bleach — discolors all interior trim
- Glossy “dashboard shines” — the matte finish was a design choice; gloss creates glare
For conditioning, use a water-based UV protectant (303 Aerospace Protectant is the common reference) — it leaves a dry, matte finish.
Touchscreens and Glass
Modern infotainment screens and instrument cluster glass have anti-glare and oleophobic (fingerprint-resistant) coatings that household glass cleaners can damage.
What to use:
- Microfiber cloth, dry first — most fingerprints come off with just the cloth
- Distilled water on the cloth for stickier residue
- 50% isopropyl alcohol sparingly for stubborn smudges, applied to the cloth (never sprayed directly on the screen)
What to avoid:
- Windex / ammonia-based glass cleaner — strips oleophobic coating
- Paper towels — too abrasive, leave fibers
- Vinegar — over time degrades anti-glare coatings
- Spraying any liquid directly on the screen — runs into seams and reaches electronics
For regular interior glass (windshield, side windows from inside):
- Mix 50% distilled water + 50% isopropyl alcohol in a spray bottle
- Spray onto a microfiber cloth, not the glass
- Wipe in a single direction (not circles) to avoid streaks
- Use a second dry microfiber to buff
Avoid Windex on tinted windows — most aftermarket tint film is on the inside surface, and ammonia clouds the film.
Carpet and Floor Mats
Floor mats handle the worst of it: salt, mud, drink spills, food. The cleaning approach depends on the mat material.
Rubber and all-weather mats — pull them out, hose them off in the driveway, scrub with dish soap and a stiff brush, rinse, hang to dry. Done.
Cloth carpet mats — vacuum first, then treat stains with diluted dish soap (1 teaspoon to 2 cups warm water). Scrub with a soft brush, blot with a clean towel, repeat as needed. For salt stains in winter, a 1:1 vinegar-water solution lifts the salt residue better than soap.
The car’s actual carpet (under the mats, attached to the floor) — same approach as cloth seats. Vacuum, light cleaning solution, agitate, blot dry. Avoid soaking; water trapped under carpet leads to mold and corrosion of the metal underneath.
For odors, sprinkle dry baking soda generously on the carpet and mats, leave overnight, then vacuum. It absorbs smell better than perfumed sprays that mostly mask it.
What Should Never Go in a Car Interior
- Chlorine bleach — discolors everything: leather, vinyl, cloth, carpet
- Ammonia (including Windex) on tint or screens — strips coatings
- Acetone, paint thinner, lacquer thinner — dissolves plastics and topcoats
- Solvent-based degreasers (engine cleaner, parts cleaner) — too aggressive for cabin
- Abrasive scouring powders (Comet, Ajax) — scratches every interior surface
- Furniture polish on the dashboard — creates glare and slip
- Tire shine on interior trim — leaves greasy film, attracts dirt
- Wood floor cleaner — leaves film on wood-trim cars
- Bug-and-tar remover inside the cabin — damages trim and upholstery
When in doubt, test in a hidden spot first — under the seat, inside the door panel, on the back of a center console — and wait an hour to see if the finish reacts.
A Reasonable Cleaning Order
- Empty the car — trash, personal items, mats out
- Vacuum everything — seats, carpet, mats outside the car, between seats and console
- Wipe hard surfaces — dashboard, door panels, console with mild soap solution
- Clean windows last — so any drips from above land on already-cleaned surfaces
- Treat stains as needed — cloth or leather as appropriate
- Condition leather and trim — only every 3–6 months, not every cleaning
- Mats back in last — once they are dry
The whole process takes about 45 minutes for a typical cleaning, longer for a deep clean with stain treatment. Doing it monthly keeps the interior in a state where deep cleans are quicker.
Keep reading on Chariotz
- The Importance of Car Detailing to Maintain Your Car’s Value
- Spring Detailing Checklist After a Long Winter on Salted Roads
- Affordable Detailing Kit Refresh for Spring: Towels, Brushes, and Soap
- Ceramic Spray vs. Wax vs. Sealant: What Delivers the Best Real-World Payoff
- Ticarve Cleaning Gel: Car Interior Detailing on a Budget